Taking Front Desk (Center) Attendance
Setting the current Center
Before we take attendance, we’ll need to set what center you are working at. Click the account icon in the top right of the screen. Select the Center you are working at. This list will only show locations of the type of Center.
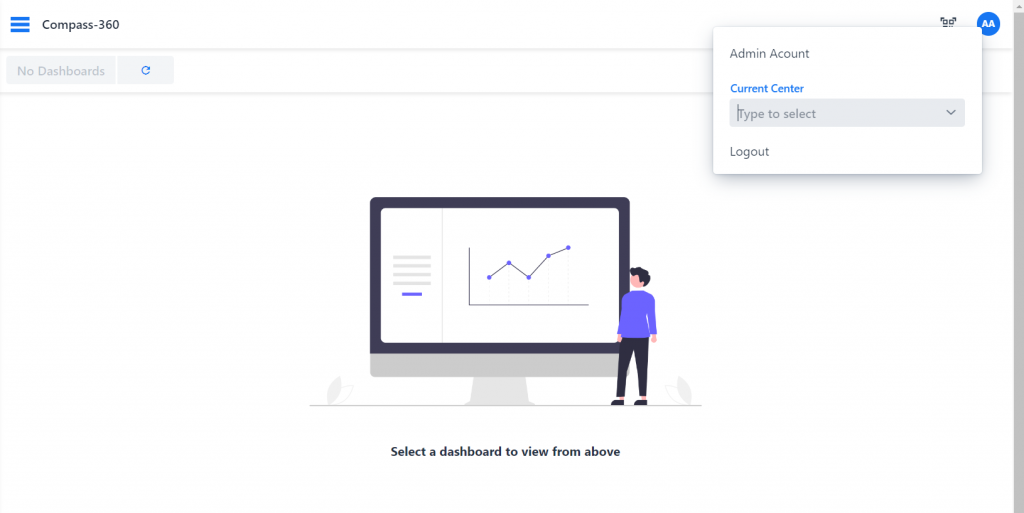
This will be saved on your specific user account.
Checking a Participant in
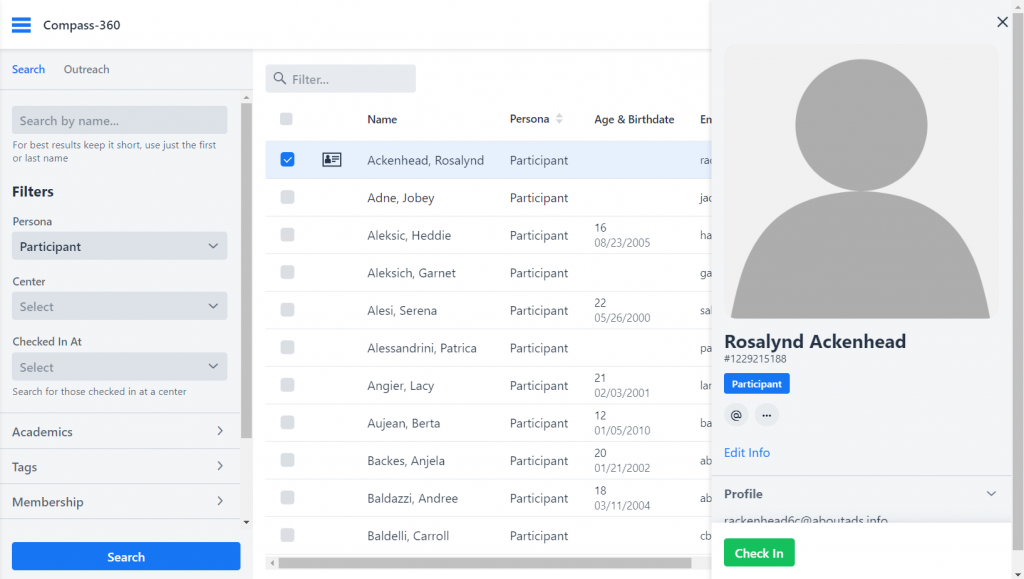
Search for a Participant in your database. Select the Participant to open the sidebar. At the bottom, click the green check-in button.
Important to note:
Only Constituents with the Persona of Participant will show the check-in button.
The check-in dialog will open up, showing you important information about that constituent.
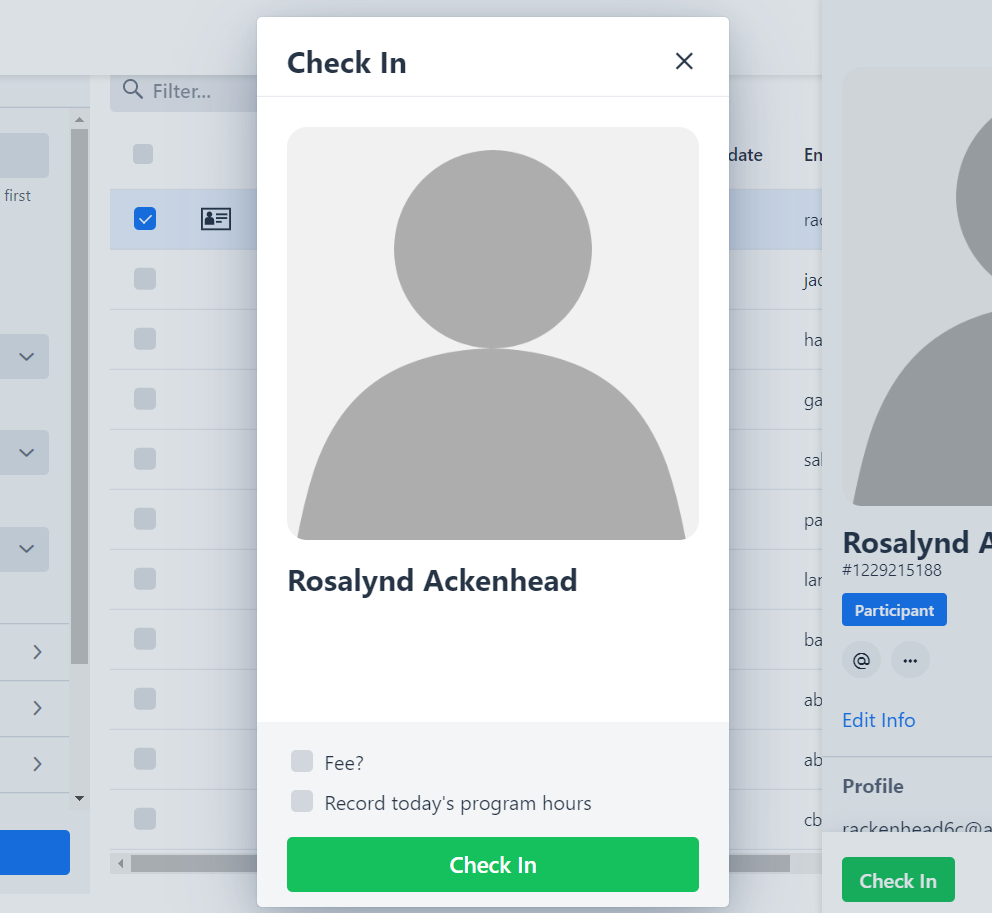
From here you can:
- Check in the participant
- Apply a fee to their invoice for this center attendance session
- Automatically take attendance for the program classes the participant is registered for today
For option three, every class the participant is registered for, an attendance record will be recorded for the duration of the class start and end time. For example, if the class is two hours long, the participant will have an attendance record for two hours for that class.
If this is your first time checking a Participant in since you have logged in, you’ll be asked to confirm the Center you are working at. If you don’t have one set, a prompt will allow you to select one.
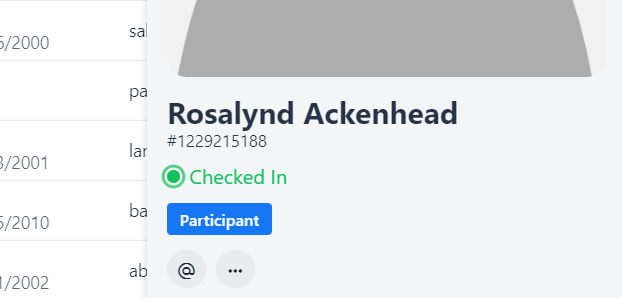
Once the Participant is checked in, there will be a green checked in status shown in the sidebar. The check in button will now be a check out button.
Search For All Participants Checked In
From the search form, scroll down to select the Center you want to search to see all Participants checked in. More actions will be coming shortly to allow you to check them all out, send a text, etc.