Managing Relationships
C360 allows you to dynamically design households by way of relationships. This allows you to better manage contacts and payments.
While you still want to assign your parent/guardian constituents the persona of Parent, you will need to give them a relationship with their Participant to connect them.
When a Parent registers a Participant online, a relationship is automatically created for them.
Viewing Relationships
Navigate to a constituent’s profile via the Constituents Module. Scroll down until you see Contacts and expand the section to view any current relationships, or add a new one.
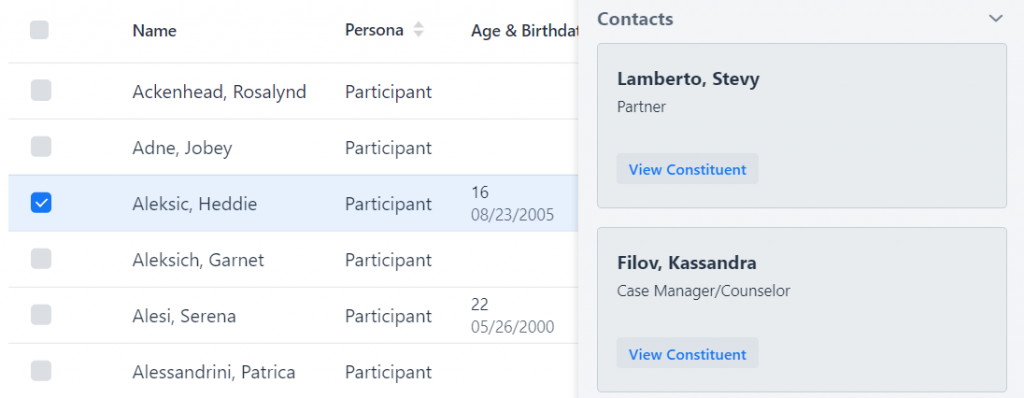
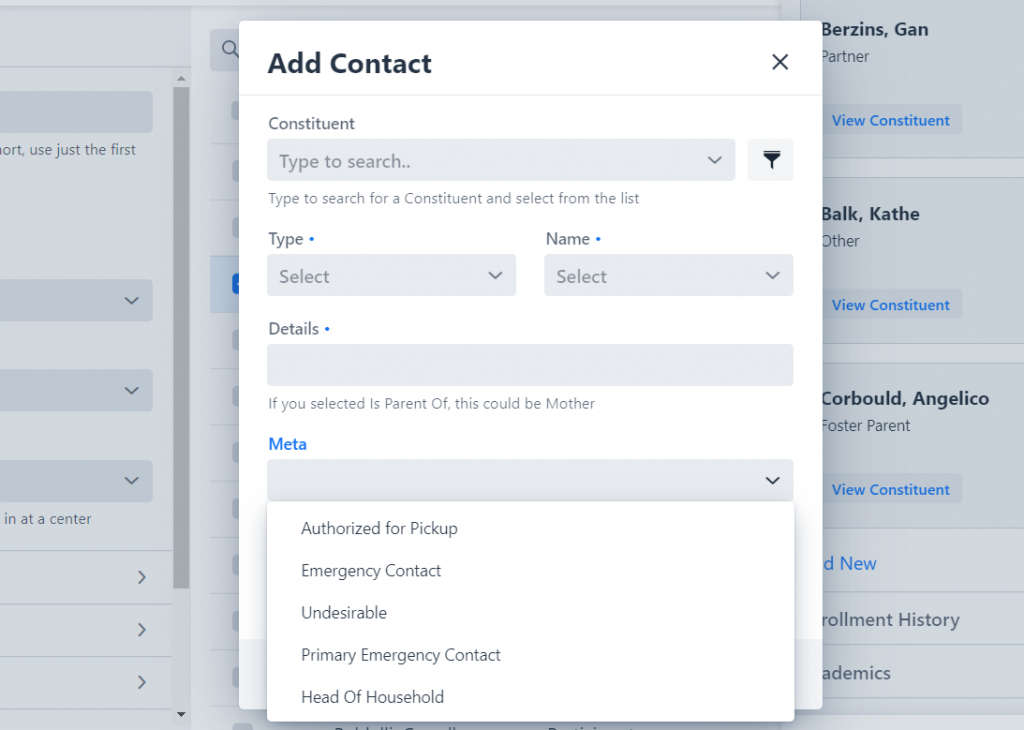
Each relationship can have meta data – pick-up authorization, emergency contact, etc.
If the constituents have a Parent-Participant relationship, the Participant will also appear underneath the Participants section of the Parent’s sidebar profile. This is where you can register new participants.
If a Participant already exists in your database, you can connect them by adding the relationship.
Adding A Relationship
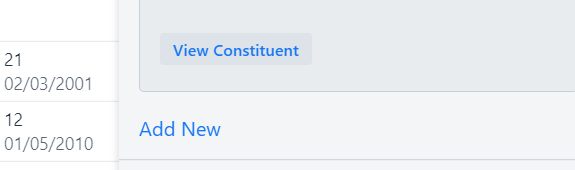
From the bottom of the Contacts section, select Add New.
This will open the new contact window where you can add details. Enter the other constituent to whom you are adding the relationship, select the Type and Name, enter the details and any accompanying meta data.
Important to note:
When you add a relationship to a constituent, a counter relationship will automatically be placed on the other constituent selected.
Creating Relationship Types
While we’ve preset relationships, you can add any additional ones or edit current ones by navigating to the SiteSetup Module and Relationship Types tab.
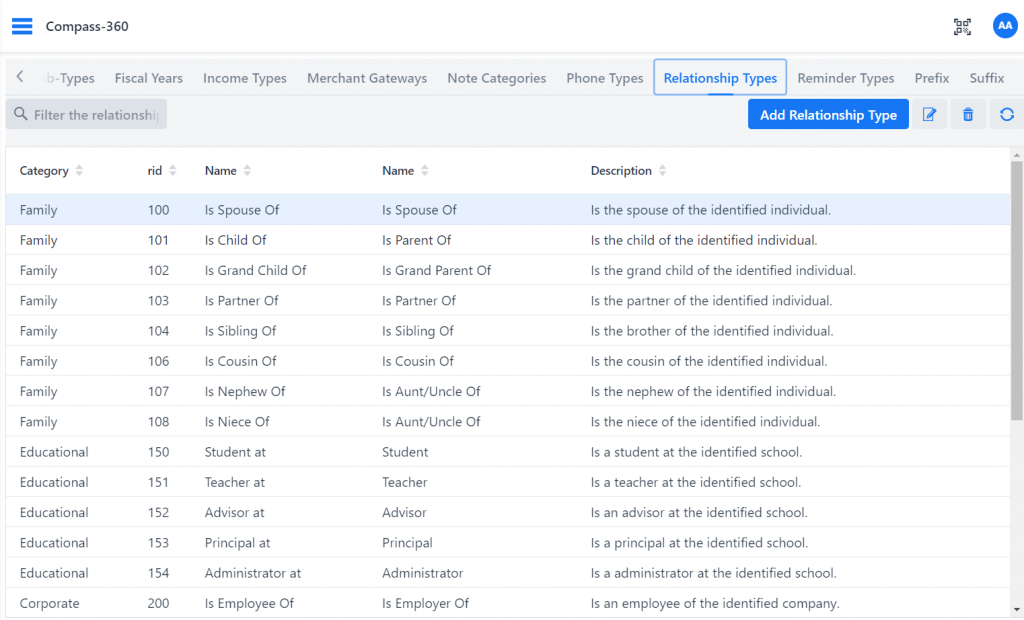
To add a new one, select Add Relationship Type from the top right corner. To edit or delete one, select the relationship and then select the edit button delete button.